How Weather and Seasons Change Bell Tower Visits: A Month-by-Month Local Angle
A month-by-month guide to how weather, light and seasonal access shape bell tower visits, with practical...

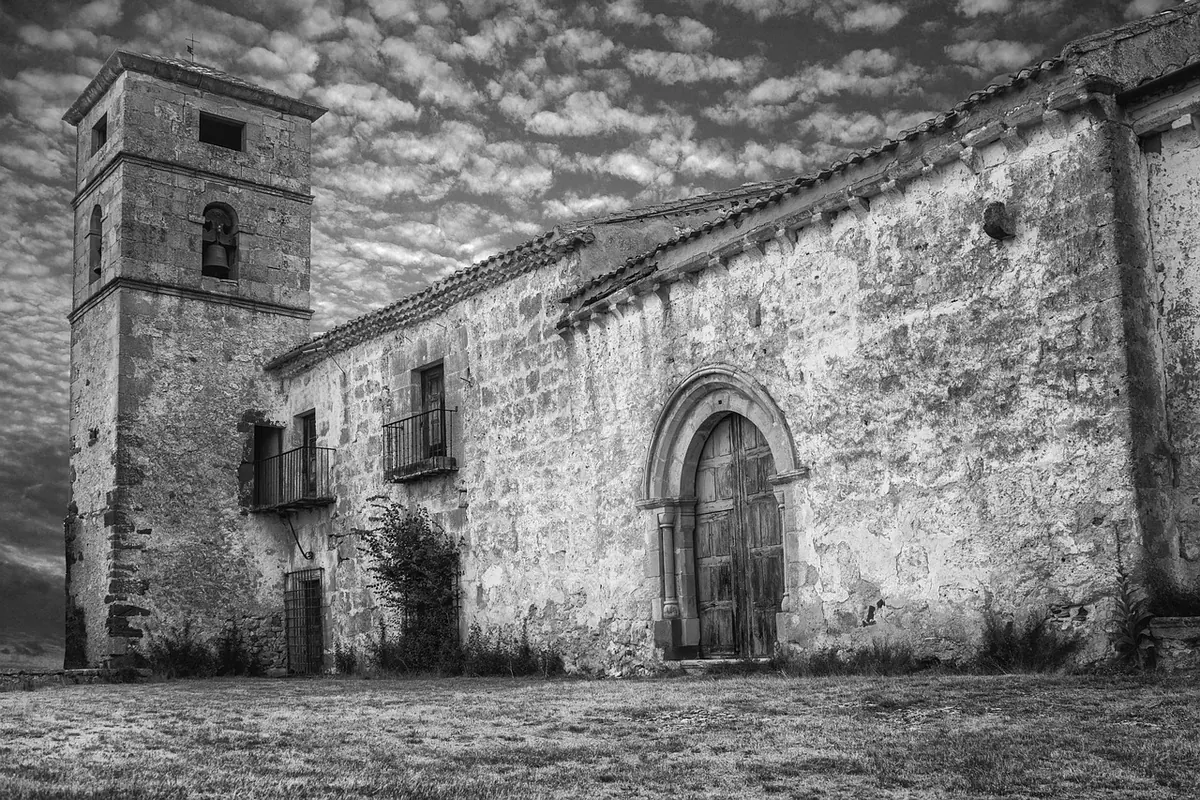
You usually hear a bell tower before you see it. A single note drops over the rooftops, the pigeons lift off the cornice, and then you turn a corner and there it is: a stone column holding up a century of local time. Most visitors take one photograph and walk on. That is a waste, because a tower is one of the few subjects in a town that hands you architecture, texture, street life and a view in a single stop. What follows is a working shot list — ten frames to take before you leave, in roughly the order that makes sense on foot, with notes on light, lenses and the small courtesies that keep you welcome.
Work through these in order if you can. The first few are the ones people regret missing, and the last few are the ones they never think of until they are back home scrolling through a flat, tidy, forgettable gallery.
Towers are tall, which means their light changes faster than the light on the square below. The east face is lit in the morning and dull by late afternoon; the west face does the opposite. If you only have one chance at the tower, find out which side faces the sunset and plan your walk so you arrive there with an hour to spare.
Hard midday sun is not the disaster people assume. It gives you a black shadow and a bright wall, which is ideal for graphic silhouettes and for stone detail where you want every joint to read clearly. Soft, overcast days are the ones for the clock dial and the carved capitals, when nothing is blown out and nothing is crushed.
Blue hour is worth the wait, but it is short. Steady the camera on a low wall, a bench or a windowsill — tripods are sometimes discouraged in busy squares, so a small flexible one or a jacket rolled under the lens helps. And listen for the bells. They usually mark the hour and often call people to services, so be in position a few minutes early to catch the tower just before the chimes rather than scrambling while they ring.
Keep the verticals true. Turn on the grid, hold the camera level, and accept that you may need to stand further back than feels natural. Correcting a leaning tower afterwards always costs you some of the top.
Expose for the stone, not the sky. A bright sky behind a dark tower will fool the camera every time. Meter for the masonry and let the sky go pale, or bracket a few frames and choose later. Pale sky is easier to rescue than a featureless grey wall.
Use the long lens more than you think. The belfry, the clock, the bell itself and the tower seen over rooftops all benefit from compression. One zoom covering roughly 24–200mm will handle the entire list, and it saves you changing lenses in a dusty lane.
Opening hours for climbs vary with the season and with restoration work, and they are often limited to a few mornings a week or run by volunteers. Ask at the tourist office or the parish, and check before you build a day around it. Scaffolding can dominate the classic view for months at a time, so look up before you commit.
Inside, dress and behave as you would in any place of worship: quiet, no flash during services, and follow whatever signage says about photography. Some towers ask you to leave bags at the bottom; narrow stairwells are not the place to argue.
Outside, remember that the alleys you are framing are other people's front doors. Do not set up across a doorway, keep tripods out of the middle of a lane, and ask before photographing someone close up. A nod and a lifted camera usually gets a smile; a long lens pointed at a stranger's window does not.
Stand back for ten seconds and run through the list on your screen rather than in your head:
If any of those is missing, you still have time. And if the light is wrong or the square is crowded, note the time of day and come back — bell towers are patient. They have been standing there for centuries, and they will still be there tomorrow morning when the east face is lit and the piazza belongs to the pigeons and the first person sweeping the steps.
Photo: ELG21 / Pixabay
A month-by-month guide to how weather, light and seasonal access shape bell tower visits, with practical...
A practical comparison of campanile climbs by view, access and crowds, with tips on stairs, timing and...
A practical walking route for reading a historic Italian town through its bell towers, from belfry details...